- In the Rendering dialog, under Image, click Save to Project.
- In the Save to Project dialog, enter a name for the rendered view, and click OK.
- (Optional) Place the rendered view on a sheet.
Considering this, how do I save a rendered image?
- Make sure you are in the Image Editor.
- Press F6 .
- Navigate to the directory (folder) where you want to write the file.
- Type a filename in the text box (to the left of the “Cancel” button).
- To the left of the window, choose your preferred file type.
- Click LMB on the “Save as Image” button.
Beside above, how do I save a rendered JPEG in Revit?
- In the Rendering dialog, under Image, click Export.
- In the Save Image dialog, for Save in, navigate to the desired location.
- For Files of type, select a file type.
- For File name, enter a name for the image file.
- Click Save.
Quick Answer, how do you save a high quality image in Revit? Do a right-click on the view name in the project browser and right-click on the name to open the context based tools. Select the Save to Project as Image. This will then bring up a setting dialog box.
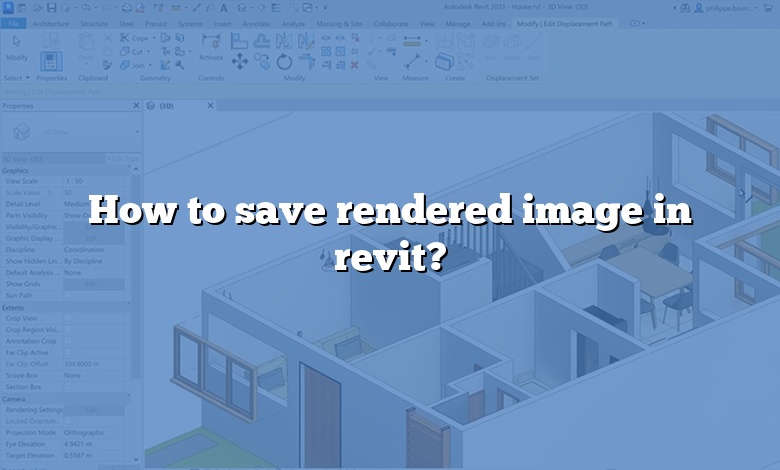
Also the question is, how do you render an image in Revit? After preparing the 3D view and using the Rendering dialog to select desired settings, click Render to render the image. Revit begins the rendering process, rendering the entire image progressively. Revit displays a progress dialog, which shows information about the rendering process.
Where does Blender save rendered images?
Rendered animations and other sequences tend to be saved automatically as a consequence of the process to a specified location that can accessed externally from Blender, typically the /tmp folder.
What is a render image?
Rendering or image synthesis is the process of generating a photorealistic or non-photorealistic image from a 2D or 3D model by means of a computer program. The resulting image is referred to as the render.
How do I export a 3D view in Revit?
- Create a duplicate view: In the Project Browser, right-click the 3D view to export, and click Duplicate View Duplicate.
- Add a section box: For information about section boxes, see Change the Extents of a 3D View.
- Export the 3D view defined by the section box:
How do I export a drafting view in Revit?
- Select a drafting view in the Project Browser.
- Right-click the view name, and click Save to New File.
- Enter a new name for the project. This creates a new Revit project file that contains the selected view and the contents of that view.
What is a rendered view in Revit?
Render the view to create a photorealistic image of the 3D model. Before starting the render process, see Best Practices: Rendering for information about how you can improve performance. After preparing the 3D view and using the Rendering dialog to select desired settings, click Render to render the image.
How do you make Revit render more realistic?
- Create a model element, or open an existing model.
- Specify realistic material appearances for the element. See Materials.
- Specify graphic display options.
- Open a view that you can edit.
- Specify the Realistic visual style on the View Control Bar.
Where did my render go in Revit?
You can find the saved rendering under the project browser by clicking [Save to Project] on the [Rendering settings] window. You can include the rendered images on the sheets with a titleblock.
How do I enable render in Revit?
Render from Autodesk Revit 2018.3 and Later Open a 3D view in a Revit project, and click View tab Graphics panel Render in Cloud. If prompted, sign in to your Autodesk account. Select views, adjust settings, and click Start Rendering.
How do you save Enscape view in Revit?
In Vectorworks navigate to the View->Save View option. Once the Save View dialog opens in Vectorworks, name the View and save it. This window will also appear when creating a View natively in Enscape itself.
Is Revit good for rendering?
Rendering in Revit with the Enscape plugin is designed to give you a quick and easy process to create visualizations. The direct integration allows you to render in real time, which means any updates you make in the Revit software, immediately shows up in Enscape.
How do you use render?
You can use render with an adjective that describes a particular state to say that someone or something is changed into that state. For example, if someone or something makes a thing harmless, you can say that they render it harmless.
How do you apply render?
How do I make a realistic image render?
- Round your edges.
- Use surface imperfections.
- Introduce some chaos.
- Mimic real-world lighting.
- Use a realistic camera angle.
- Create some atmosphere.
- Use lens effects.
- Scale objects correctly.
How do I save a rendered PNG in Blender?
- Click the “Render” menu and select “Render Image” to render the scene you want to save. You can also render the scene by pressing the “F12” key.
- Click “Image” and select “Save As Image” to open the Save Screenshot window.
- Click the spin box and select the “PNG” file format.
Who invented rendering?
Ed Catmull was the first person to create a 3D model using 3D modeling software – a model of his wrist. The third most important pioneer was Martin Newell, the developer of the rendering algorithms.
How do I save a Blender file as a JPEG?
How do you render a drawing?
What do you mean by rendered?
1 : to transmit to another : deliver. 2 : to furnish for consideration, approval, or information: as. a : hand down render a judgment. b : to agree on and report (a verdict) — compare enter. 3 : to give in acknowledgment of dependence or obligation : make payment of.
What is the shortcut for rendering an image?
Ctrl + Right Render view previous image.
How do I save a Revit model as a 3D PDF?
A Quick Export Go to your Revit Add-Ins tab and click the Create PDF button. This will activate a dialog box as shown in Figure 3. Keep all the default settings and click OK and it will generate a 3D PDF in the Adobe Acrobat program.